Wednesday, December 31, 2014

Tuesday, December 30, 2014

Innocence - From Start to Finish & A Quote

My latest art, from start to finish.


Titled "Innocence"

36 x 48 inches
Very loosely based on Klimt's famous painting
Mother & Child 

background on and
sketch drawn in.


mum and bub have some 
skin colour added


background added too and 
hair colour added


and here we are
finished product.

as always
thank you
for popping by
xx


couldn't resist adding this quote over the top xx

Friday, December 26, 2014

Apple Cinnamon Dog Biscuits

I have been experimenting with making my own dog food for a little while now and recently a friend introduced me to a recipe for homemade dog biscuits. 

With that very first batch, I knew I was on to a winner. Our dog's coat has never been shinier, her tail hasn't stopped wagging, she has never once turned her nose up at anything I've made and just listening to her crunching away, assures me they are delicious.

So all of this positive feedback has inspired me to find more recipe's and adapt them to my lifestyle. I also wanted to experiment with different flavours/textures and flours all while knowing that what I was putting into the bickies, was not only safe for my dog, but I had control of it. Ie no preservatives etc.

So want to make your own batch of bickies for that special furry friend in your life? 

Well you can.... here is my latest recipe - Apple Cinnamon Dog Biscuits


Apple Cinnamon Biscuits

1 cup of natural applesauce (**see note below**)
1 teaspoon cinnamon
1 tablespoon parsley
1 cup cold water
1/2 cup coconut oil (or olive oil)
5 cups brown rice flour (**see note below**)
1/2 cup powdered milk
2 large organic eggs


** I made my own applesauce in the Thermomix using the recipe from the Everyday Cookbook - page 42
** I made my own rice flour using brown rice and using the Thermomix recipe from the Everyday Cookbook - page 21

Instructions:
  • Preheat oven to 150 degrees.
  • In a large bowl, whisk together all the dry ingredients.
  • In a smaller bowl, beat the eggs lightly. Add the rest of the wet ingredients.
  • Gently combine the dry ingredients with the wet ingredients.
  • Knead with your hands until you have a smooth ball of dough. I used my Thermomix to do this process which was quicker. ***note*** this recipe is very sticky!
  • Take a rolling pin and flatten out the dough to about 1/2 inch thickness. Use a biscuit/cookie cutter to cut out fun shapes. If you're feeling lazy, you can just leave the dough as is and bake it like one whole biscuit. You can always break it up after it's cooked. At this point I also sprinkled on a little extra cinnamon on the top of the biscuits, but that is just an option. If you want a shinier looking biscuit, you can also brush on a thin coat of egg whites before baking. 
  • Place your dough onto a tray with a non-stick baking sheet on top because as mentioned above this recipe is very very sticky!
  • Bake for 15-20 minutes (depending on your oven) or until golden. 
Let your biscuits cool completely. Store in an air tight container for up to a week (if your furry friend let's them last that long!). Remember these are fresh ingredients with no preservatives, so they will not store as long in a container as a commercially bought brand of biscuits would. 

Wednesday, December 24, 2014

From Start To Finish - Solveig's Song


From the nervous stages
of the blank canvas


to the next layer of adding
papers


close up of some of the texture


on to adding the tree


Then the finished product

"Solveig's Song"
24 x 36 inches


and I couldn't resist adding
part of the actual song

As always
thank you for popping by

Tuesday, December 23, 2014

2014 - what a fabulous year!


Since 2013, I wanted to start a yearly tradition for myself. 

One where I collate all of my paintings 
together into a single photo.

The reasons for this are not only to
share them with my friends/family/supporters of my
art (who I would also put into the category of friend)
but also for me personally to see:- 

1)  how I've been travelling 
throughout the year artistically

2) make sure my work isn't all
looking the same

3)  which colours/paintings are working for me and
that I did like and those that I wasn't so keen on.

All of these steps help me to move forward into the
new year having a clearer picture in my head.


here's last years review pic (2013)


As always thanks
for taking the time to 
pop by xx


Saturday, December 20, 2014

Four Seasons - From Start to Finish

 time for a little bit of honesty.

Here's the deal. I'm not an over-sharer on
social media, my blog or anywhere else
on the internet.
The main reason is, that I personally get
bored when I have to read
something that has too many words.

UNLESS, I'm really uber duber interested
in the topic/blog/news item etc etc

OR I'm trying to learn something.

So in my blog posts, I like to keep them
simple and just share a few photos of
my work/motivational posters, etc.

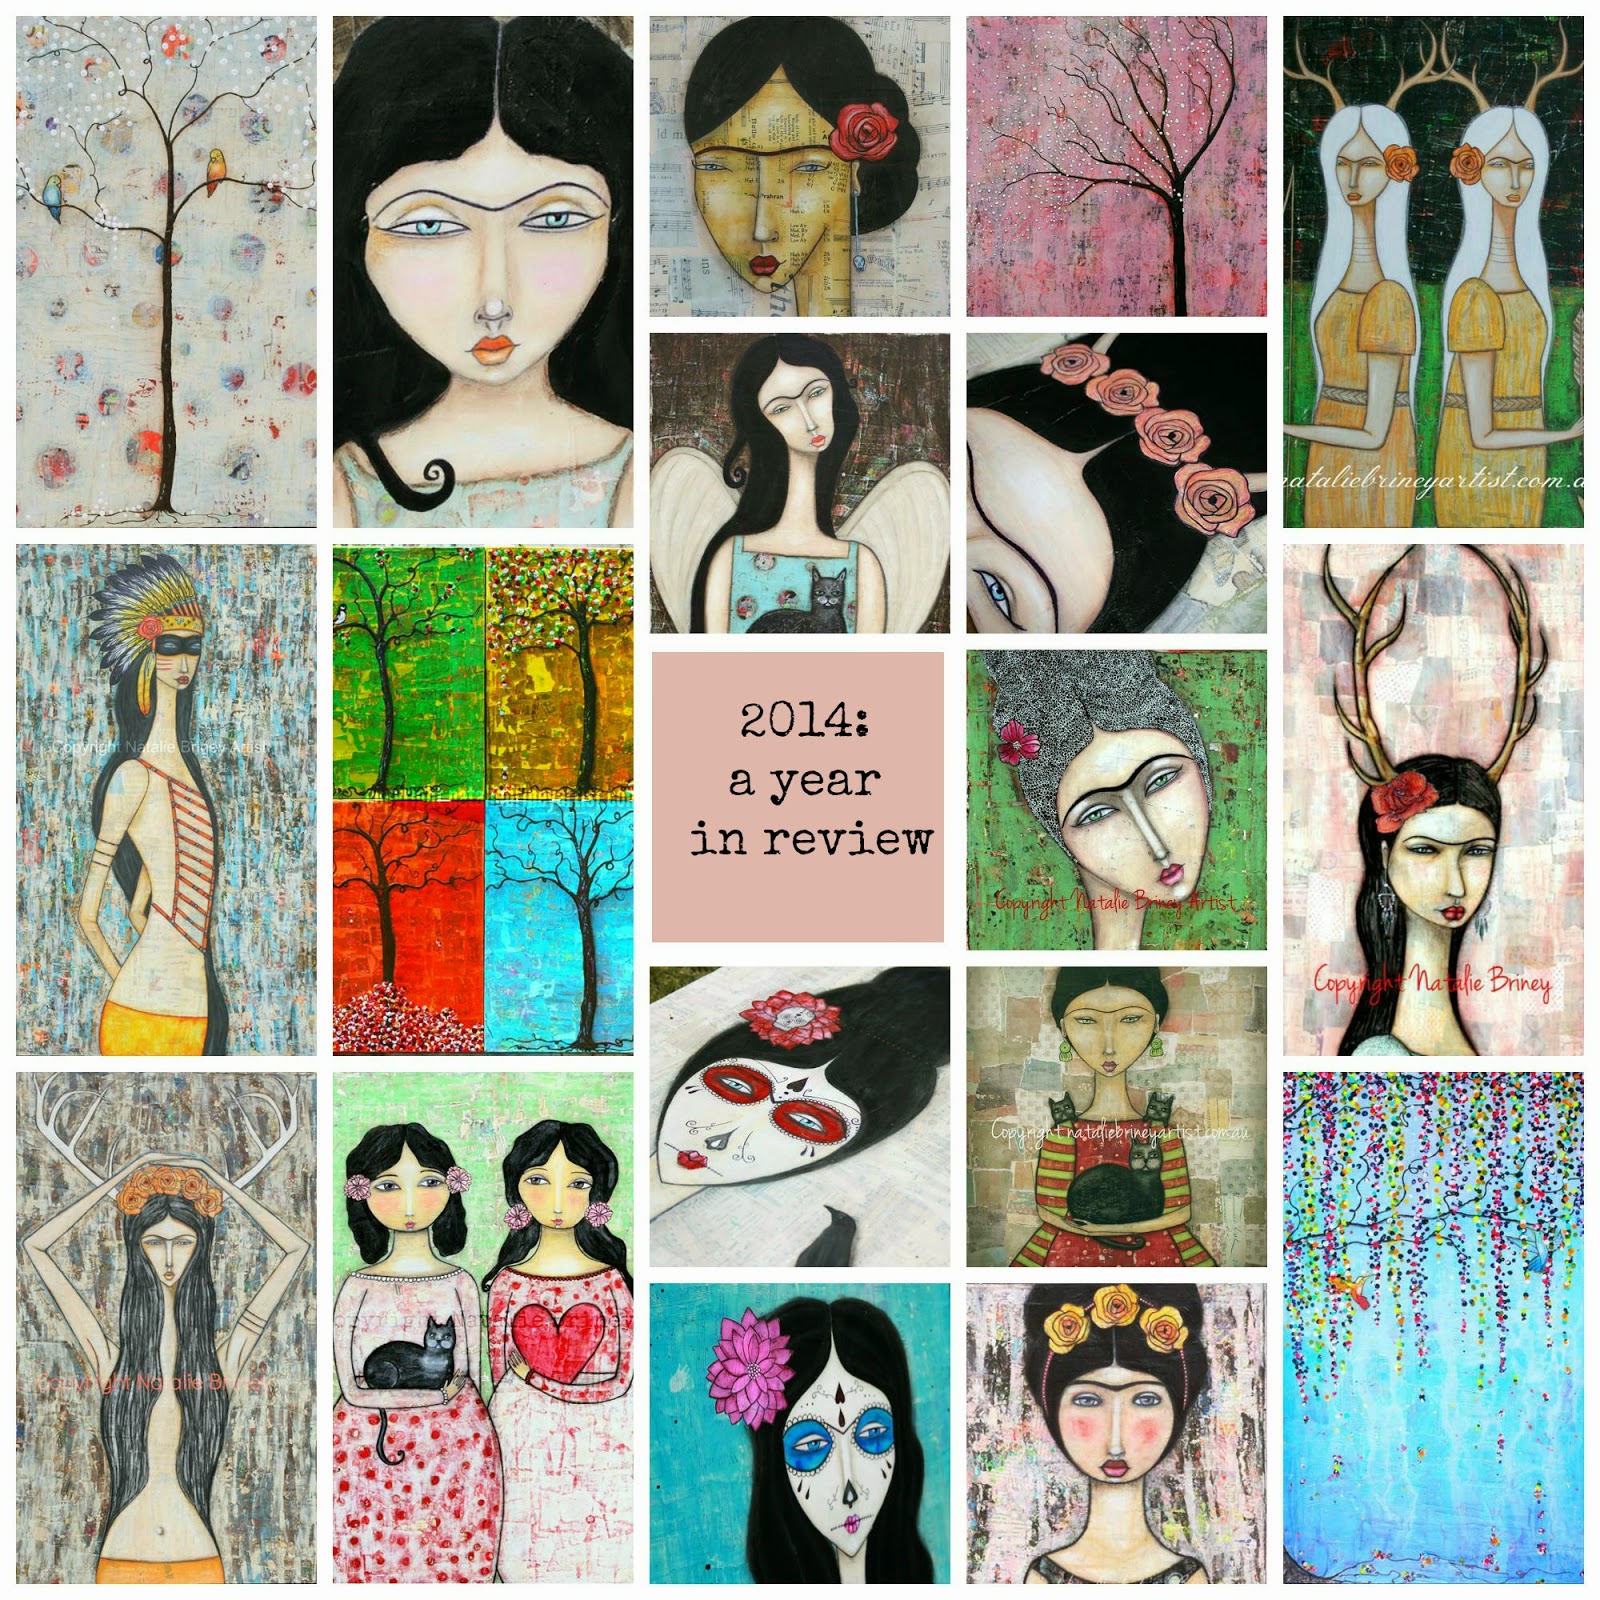
So moving on with that theme, here 
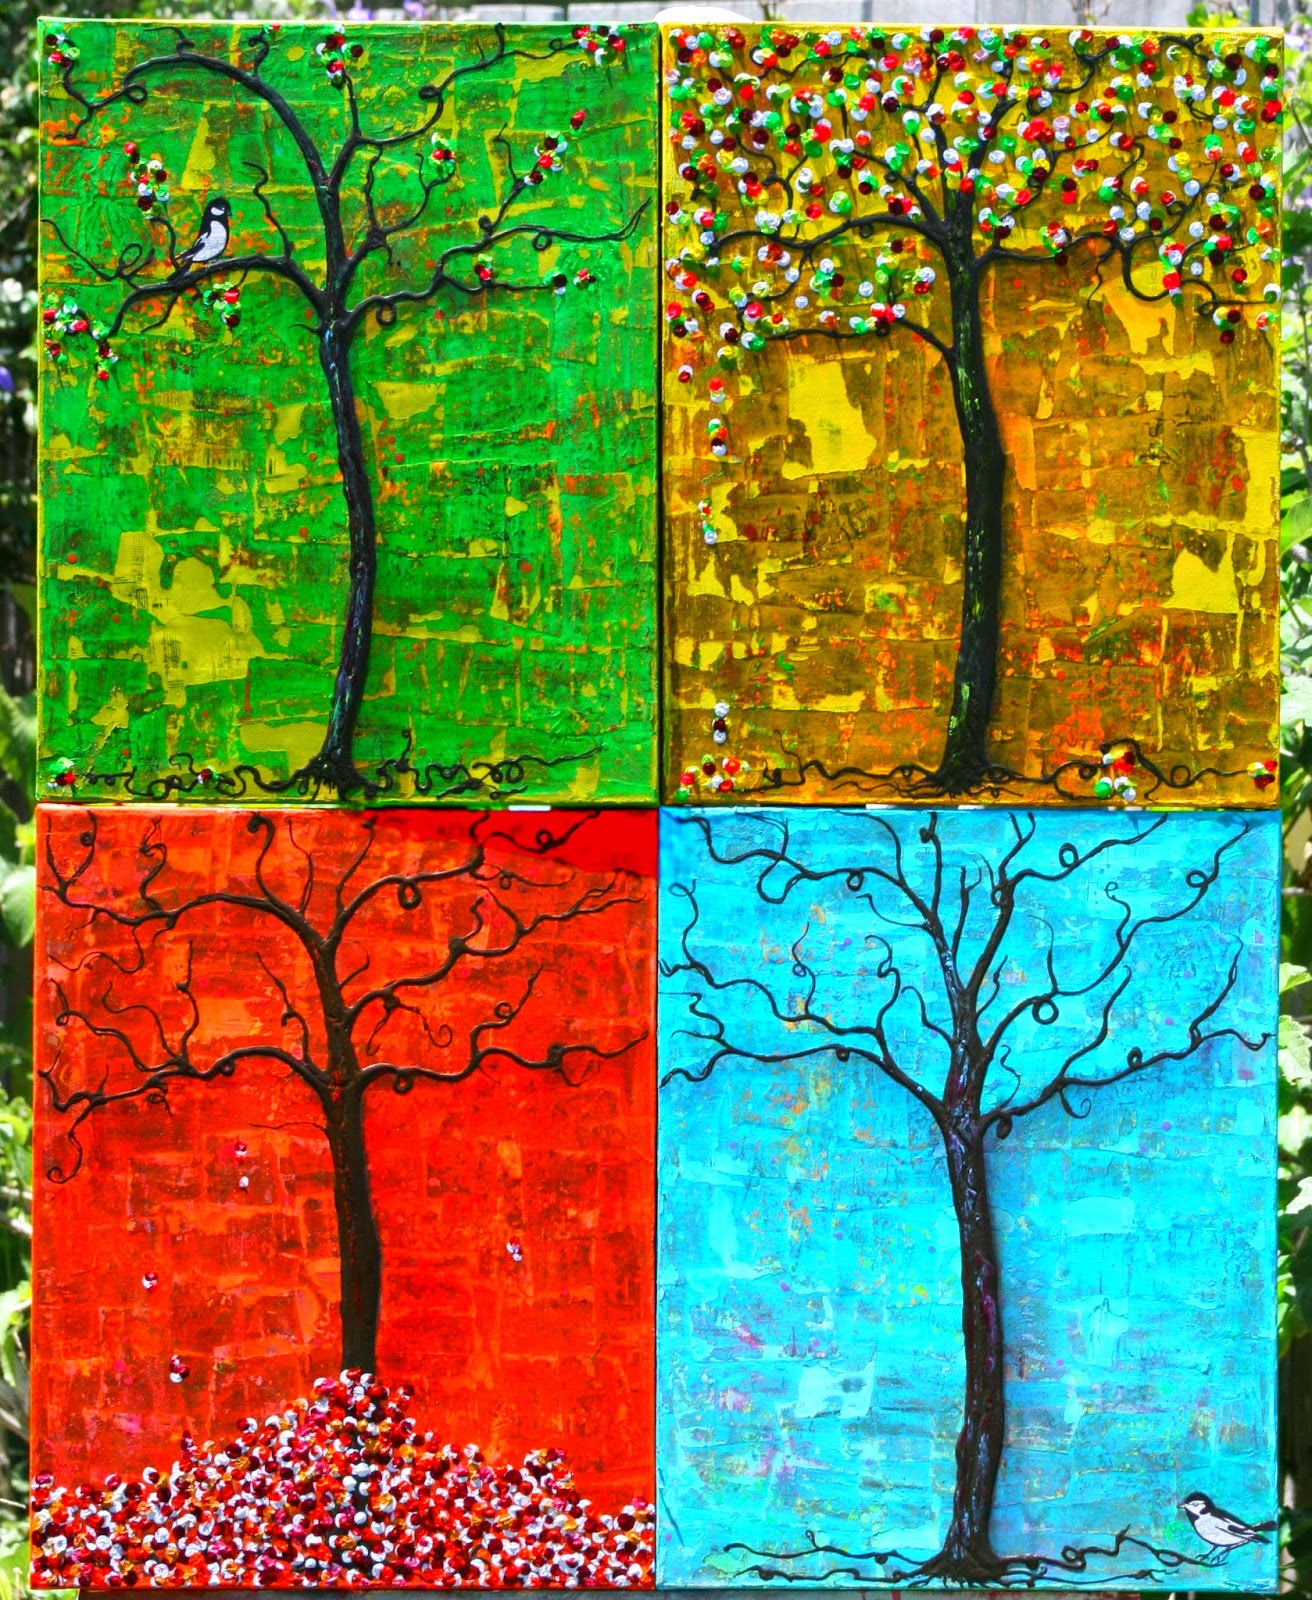
are photo's of my latest painting
"Four Seasons" from start to finish.


First layer


background colours added


Trees added
(excuse the weeds in the photo
*BLUSH*)


And the finished product.

Each canvas measures
16 x 20 inches.

Once again thank you 
for popping by.

xx

Saturday, November 29, 2014

danse des colibris


I really do love the way that this
painting turned out. 

To me, it really does feel like 
the hummingbirds are dancing. 

Such beautiful colourful birds in real life,
 that I had to capture them in mid flight.

So here is the painting from start to finish...


first layer of paint


a few splodges of paint


the tree added
(apologies for the quality of the photo)


again photo taken at night,
but a few blossoms added


and finally finished!
Dance of the Hummingbirds
Or
"danse des colibris"
24 x 36 inches


and as always
thank you for taking
the time to pop by.


Friday, November 21, 2014

On deciding to take the plunge.........

I've been asked various questions over the years about my backgrounds and my trees.

Questions like how do you do this, or that or the other. 

So I am considering doing up an online class, where you can learn how to make one of my paintings from start to finish. 

My paintings have A LOT of layers and need lots and lots of time to dry. So an online class is perfect, as students will be able to take their time (start/stop the video's - rewatch them etc etc) and learn at their own pace in the privacy of their own home, so no need to worry about what others are doing or how quickly they are doing it!

But before I go ahead, I need to ask a few questions about this potential class. So here are my questions and I am after as much feedback as possible.


If you were to take my class -

a) which of the tree's below would you like to learn to paint.. please be specific by saying 1, 2, 3 etc. I'm going to record this info and then go with majority vote

b) how much would you be happy to pay for this content.


Please note also, that the end product may not look exactly like mine at the end and that is a GOOD thing. None of my paintings ever look the same and I will give the student opportunity to create a painting with their OWN VOICE. 

What I can give you are - the tools and tricks that I have learnt over the years, to give your painting loads and loads of depth and texture. 

I will provide a material list of what I use. However, cheaper alternatives can always be sought. Ie the paint brand I use is quite expensive, but there are plenty of cheaper alternatives out there. You can also buy canvas from a thrift store (the white background will be covered up, so it doesn't matter if it has dirty marks on it). 

Please feel free to share with your friends, as I truly would love as much feedback as possible. I'm thinking of creating this course over the Xmas/New Year period as I have a little bit of time off from work. Please note that I work full time at another job, so the support that I would provide would have to be after work hours.
Thanks
Natalie
xx

Tuesday, November 11, 2014

Sweet Sisters - From Start to Finish

A commission piece for a beautiful family,
 with two sweet sweet sisters,
 so how could I not name it after them :-) 
 
Sketching and filling in a little

 
The second Sweet Sister added

 
working on the dresses

 
At this point I wasn't completely
happy with the way the shape of the dresses
were going, so I worked on them a little more.


and here they are
24 x 36 inches
Sweet Sisters
 
 
at this point I just want to mention
that I hand wrote a poem into
the background.
 
Here is what it says
 
 
What is a Sister?...

A sister is someone who
has been where you've been
and knows you better than anyone else.

She is more than just family,
she is also your best friend.

The closeness that you have
shared through life's joys
and tears, is like having a comfortable
hand to hold.
You will always be kindred spirits
and will always be there for one
another.
That is the best kind of sister.
 
 
As always
thank you for popping by
xx 


Friday, November 07, 2014

My blog posts have been a bit sporadic lately

Well we have moved and we are settled, but I must admit that my blog posts have been somewhat all over the place lately. My art has also been a bit the same... and I can't lie... The reason is simple - the BEACH.

 Photo and motivational quote by me :-)

When we moved down south, I made a pact to myself to not take the view and the beach for granted. After all, it's too easy to move somewhere and just never ever appreciate what you have... I will 100% stick my hand up and say I've done that myself. I lived in the Pilbara for 7+ years and I know first hand, how it inspires and moves so many people.... yet for me, I struggled to be inspired. I tried and I tried, but I am an ocean/beach girl through and through. After all I'm a Pisces and the water runs through my veins. But I have seen SO many beautiful photo's and paintings done by some truly wonderful Pilbara artists, yet for me, personally I struggled to be inspired. 

So before we moved down south, I made a little pact with myself - TO MAKE SURE THAT I GO TO THE BEACH EVERY DAY ------- rain, hail or shine...  

Ok, Ok, 
I have to be honest... I haven't been every day. 
Sometimes we've been away, sometimes it's been too late in the arvo, too cold, or just too wet, but I would say that I have been 95% of the time. And do you know what, I feel like I am a NEW person....  and my dog, well she is 7 years old - AND I have been stopped by so many people asking if she is a puppy... a PUPPY... are you serious... she was nearly crippled before we left the Pilbara and I thought we may have to put her down at one stage... but she absolutely loves the ocean/beach just like her family....        maybe it's a Pets and Owners thing......    you know what I mean right? we've all seen those photo's of the dogs who look like their owners

beach sand in my moustache... the best kind of moustache right?

So for the first time in my life, I've actually been inspired to pick up a camera (or rather my iphone) and take photo's. Pretty pleased with how some of those photo's turned out - considering I'm the first person to say I take the most rubbish photo's in the history of man kind!


Mine and my mate Rosie's footprints running one morning

Photo by yours truly ... Quote - well I think we have all used this quote at some stage

in our lives ... and it's a good one to remember..


and a treasure I found one day walking. 


Anyway, I'm working on a better way to BALANCE it all... and I hope to post more regularly... 

As always, I can't thank you enough for popping by. 
xxx


Wednesday, October 22, 2014

Saturday, October 18, 2014

Be Kind

It's important to be kind, but the most important person you should be kind to, is yourself. 


Thursday, October 02, 2014

From Start to Finish - "La-Tina"


So unfortunately I forgot to take
a photo of the canvas prior to the first photo
below, but I started off with layers
and layers of paper and paint.


and she's finito
"La-Tina" 
and she's 14 x 28 inches


and a little side view
close up :-)

as always
thanks for popping by xx